
User Guide
How to Use Scan Playbooks
Overview
The Scan Playbooks page is where you view and manage your Playbooks.
-
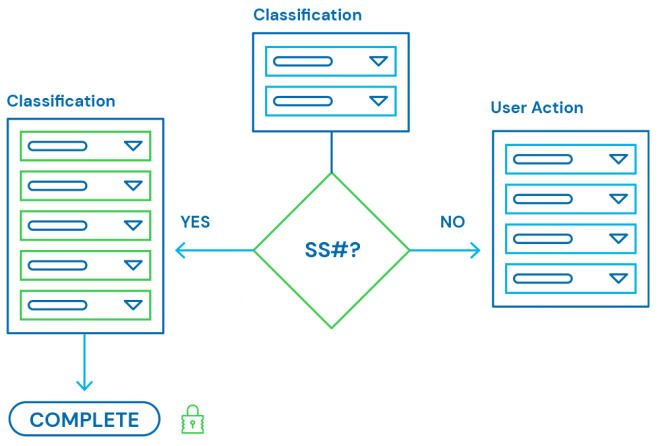
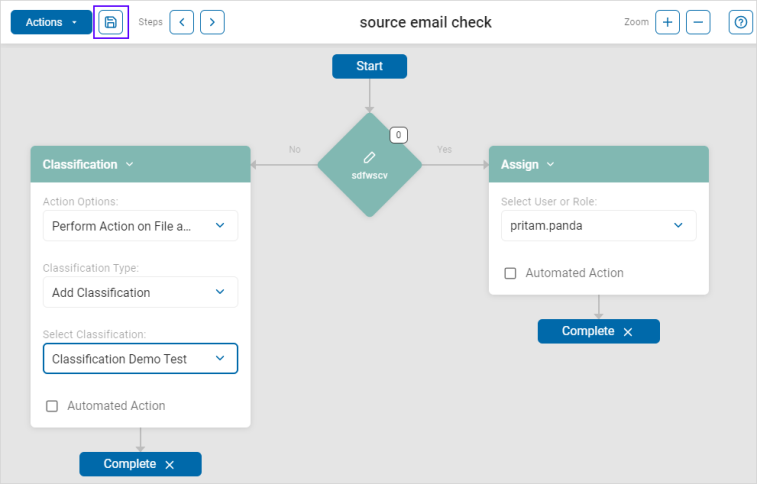
Playbooks, at a high-level, provide logical workflows using interactive flowchart symbols for the discovery, classification, notification, and remediation of sensitive data.
-
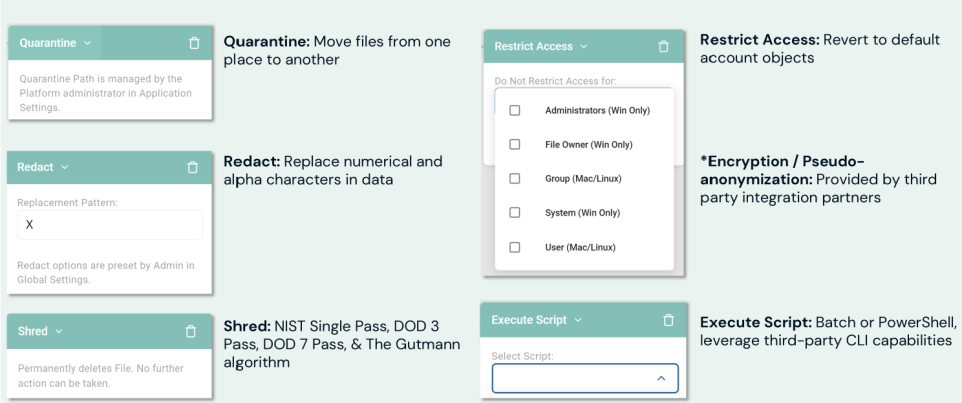
In this way, when sensitive or personal data (Social Security number, Credit Card number, address, IMEI, etc.) is encountered during a scan of your environment, Spirion Sensitive Data Platform can take appropriate action on that data - quarantine, redact, shred, restrict access, etc.)
-
Sensitive data scans can not be performed without a playbook selected and applied to the scan.
Playbook Actions
It's important to remember Playbooks define:
-
The logic for sensitive data scans
-
The actions to take when data matches are found. See the graphic below.
-
For more about playbook actions, see Add a New Scan Playbook/Select Action
Playbook Actions
How to Access and View Scan Playbooks
To access this screen:
-
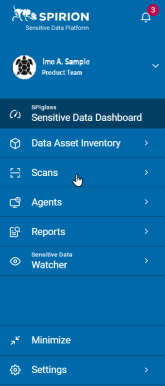
From the left menu, click Scans.
-
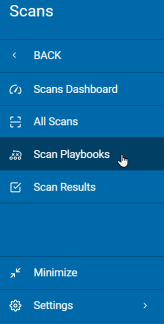
Click Scan Playbooks.
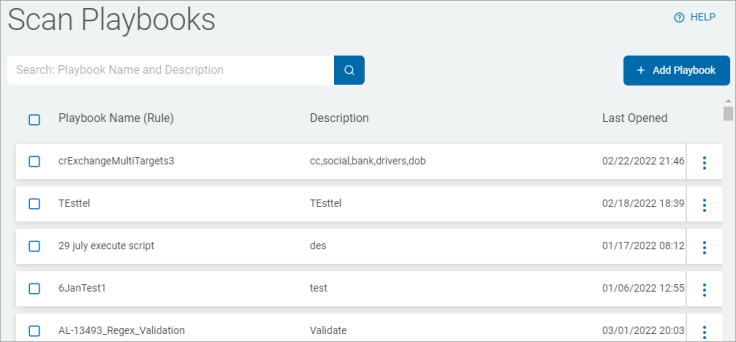
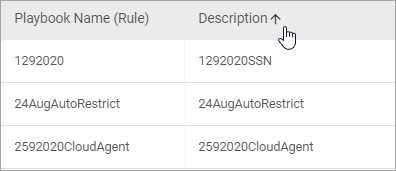
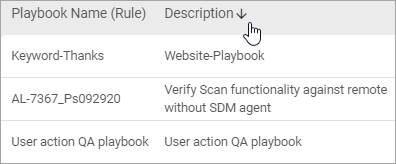
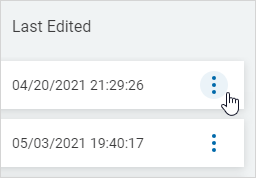
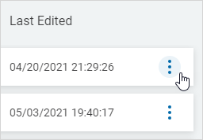
Scan Playbooks are displayed in a list sorted by column:
-
Playbook Name (Rule)
-
Description
-
Last Opened
-
Last Edited
-
More options
-
Click a column to sort ascending.
-
Click the column again to sort descending.
How to Search for a Scan Playbook
You can search for a Playbook by:
- Playbook Name (Rule)
- Description
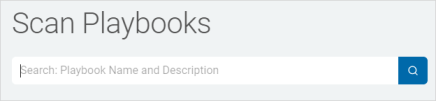
Procedure:
-
Type the search query in the box and the results are sorted and displayed in the table below.
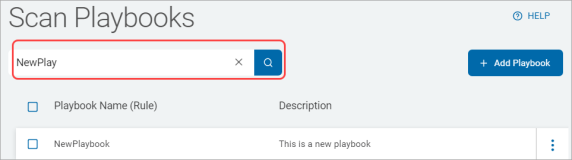
-
Click the x to clear the search term.
How to Add a Scan Playbook
To add a Scan Playbook:
-
In the top right of the screen, click Add Playbook.
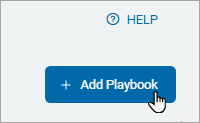
See Add a New Scan Playbook for how to proceed.
How to Create a Bulk Export of Scan Playbooks
To export multiple playbooks:
-
Select one or more playbooks from the playbooks list
-
Click Bulk Actions.
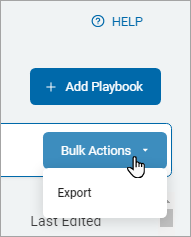
-
Click Export.
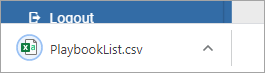
-
The playbooks file is downloaded to your local computer.
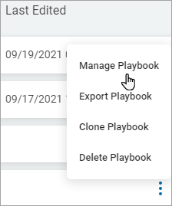
How to Manage a Scan Playbook
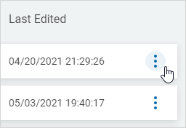
To manage a Scan Playbook:
-
Locate a playbook in the Playbooks list.
-
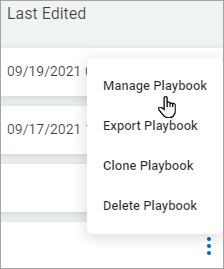
In the far right column, click the ellipse menu.
-
Click Manage Playbook.
-
In the playbook detail page, make needed changes.
-
Click the save icon in the top left of the screen.
-
See How to Create a New Scan Playbook for more information on creating playbooks.
How to Export a Scan Playbook
To export a playbook:
-
Locate a playbook in the Playbooks list.
-
In the far right column, click the more options menu.
-
Click Export Playbook.
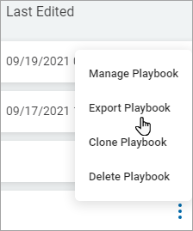
-
The playbook file is downloaded to your local computer.
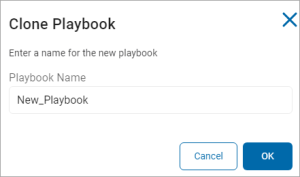
How to Clone a Scan Playbook
To clone a Scan Playbook:
-
Locate a playbook in the Playbooks list.
-
In the far right column, click the ellipse menu.
-
Click Clone Playbook.

-
In the Clone Playbook page, enter the name of the new playbook and click OK.
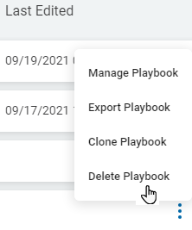
How to Delete a Scan Playbook
To delete a playbook:
-
Locate a playbook in the Playbooks list.
-
In the far right column, click the more options menu.
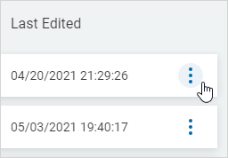
-
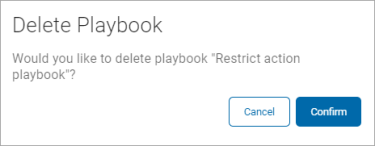
Click Delete Playbook.
-
Click the Confirm button to delete or the Cancel button to discard.
How to Manage Classification for a Scan Playbook
Note: Classifications don't show in Microsoft Windows File Explorer for files that are MPIP-protected.
To manage classification for a scan playbook use the following steps:
-
Locate a playbook in the Playbooks list.
-
In the far right column, click the ellipse menu.
-
Click Manage Playbook.
-
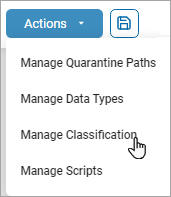
Click Actions and then Manage Classification.
-
Access How to Use Global Classifications for further information on Classifications.
How to Manage Quarantine Path for a Scan Playbook
To manage quarantine path for a scan playbook:
-
Locate a playbook in the Playbooks list.
-
In the far right column, click the ellipse menu.
-
Click Manage Playbook.
-
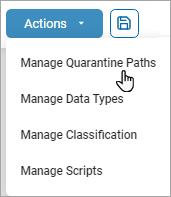
Click Actions and then Manage Quarantine Paths
-
In the Quarantine Paths dialog, select one or more environment.
-
Enter the desired quarantine file path for each selected environment.
Note: Playbook quarantine locations override the global quarantine configuration.
Multiple quarantine paths separated by a comma can be entered per environment.Note: UNC paths are supported for workstations and remote file servers, and standard file system.
Cloud targets can also quarantine to cloud locations.
For example, with a Google Cloud target the following paths would be valid:
• C:\Quarantine_Folder - This entry would cause all files on this target to be quarantined to a folder on the agent host system performing the scan.
• \\RemoteServer\Quarantine_Folder - This entry would cause all files to be quarantined to a remote folder.
• Google Drive: user@account.com/Quarantine_Folder - This entry would cause all files on this cloud provider to be quarantined to a specified Google Drive folder.Note: To quarantine files to Microsoft OneDrive, the entire location path must be written in lowercase.
For example, OneDrive paths must be formatted exactly as:
• Microsoft OneDrive: user@domain.com/quarantinefolder -
Click Confirm.